TEACHING ASSISTANT
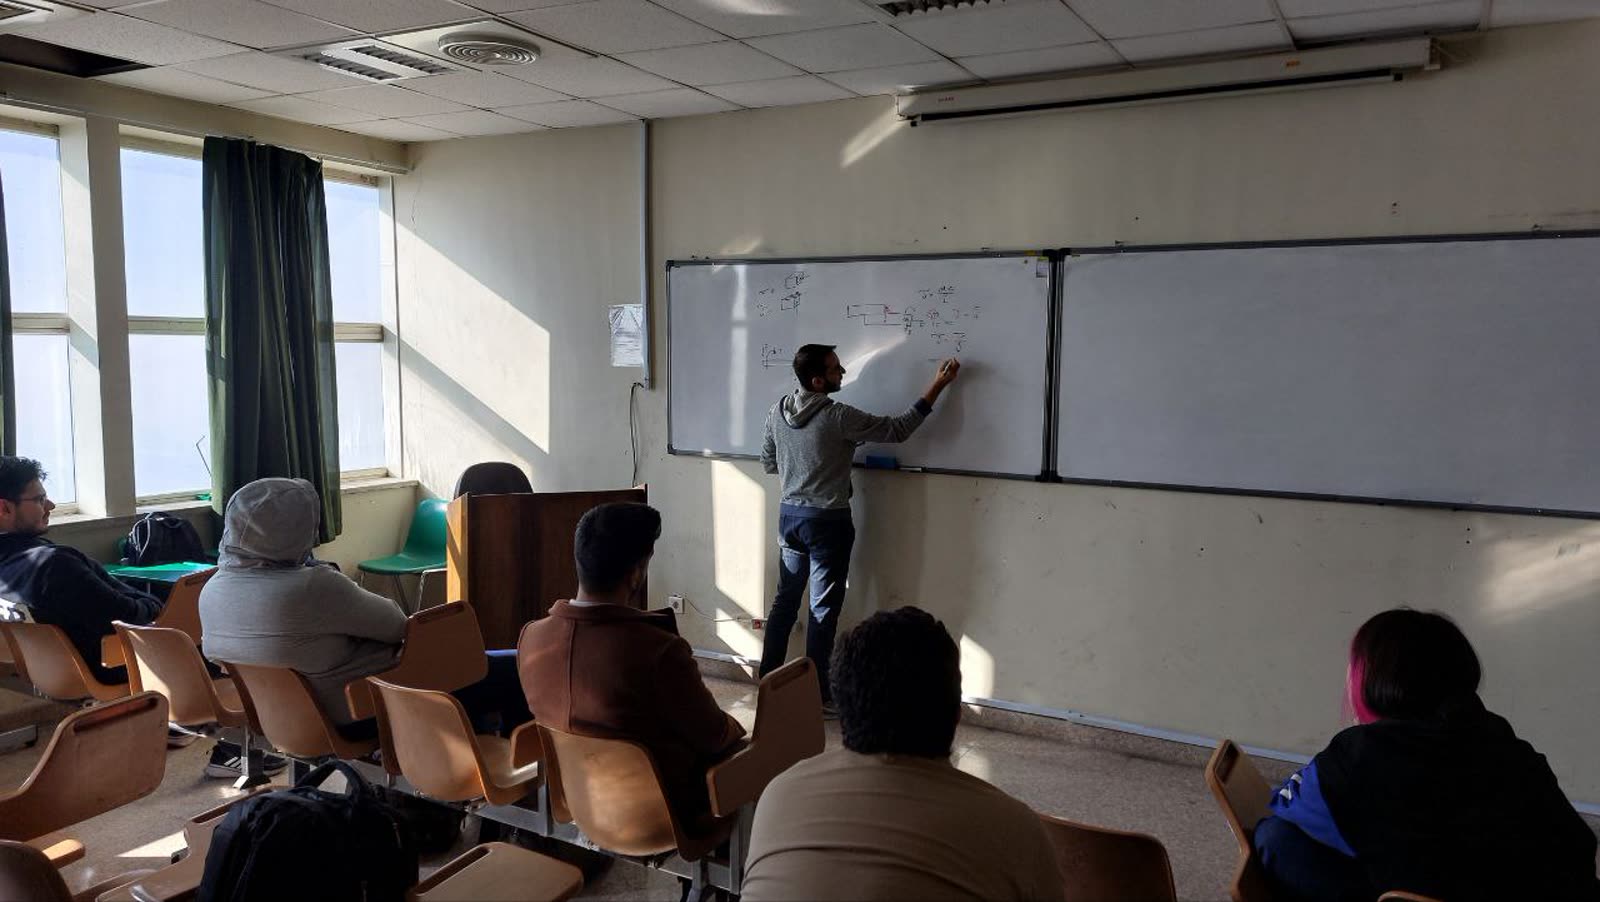
Design of Machine Elements I. I ran the sessions after the lecture, where the problems get solved and the doubts get cleared, curated the clearest explainer videos for each topic, and built interactive simulations for the ideas a whiteboard cannot move.
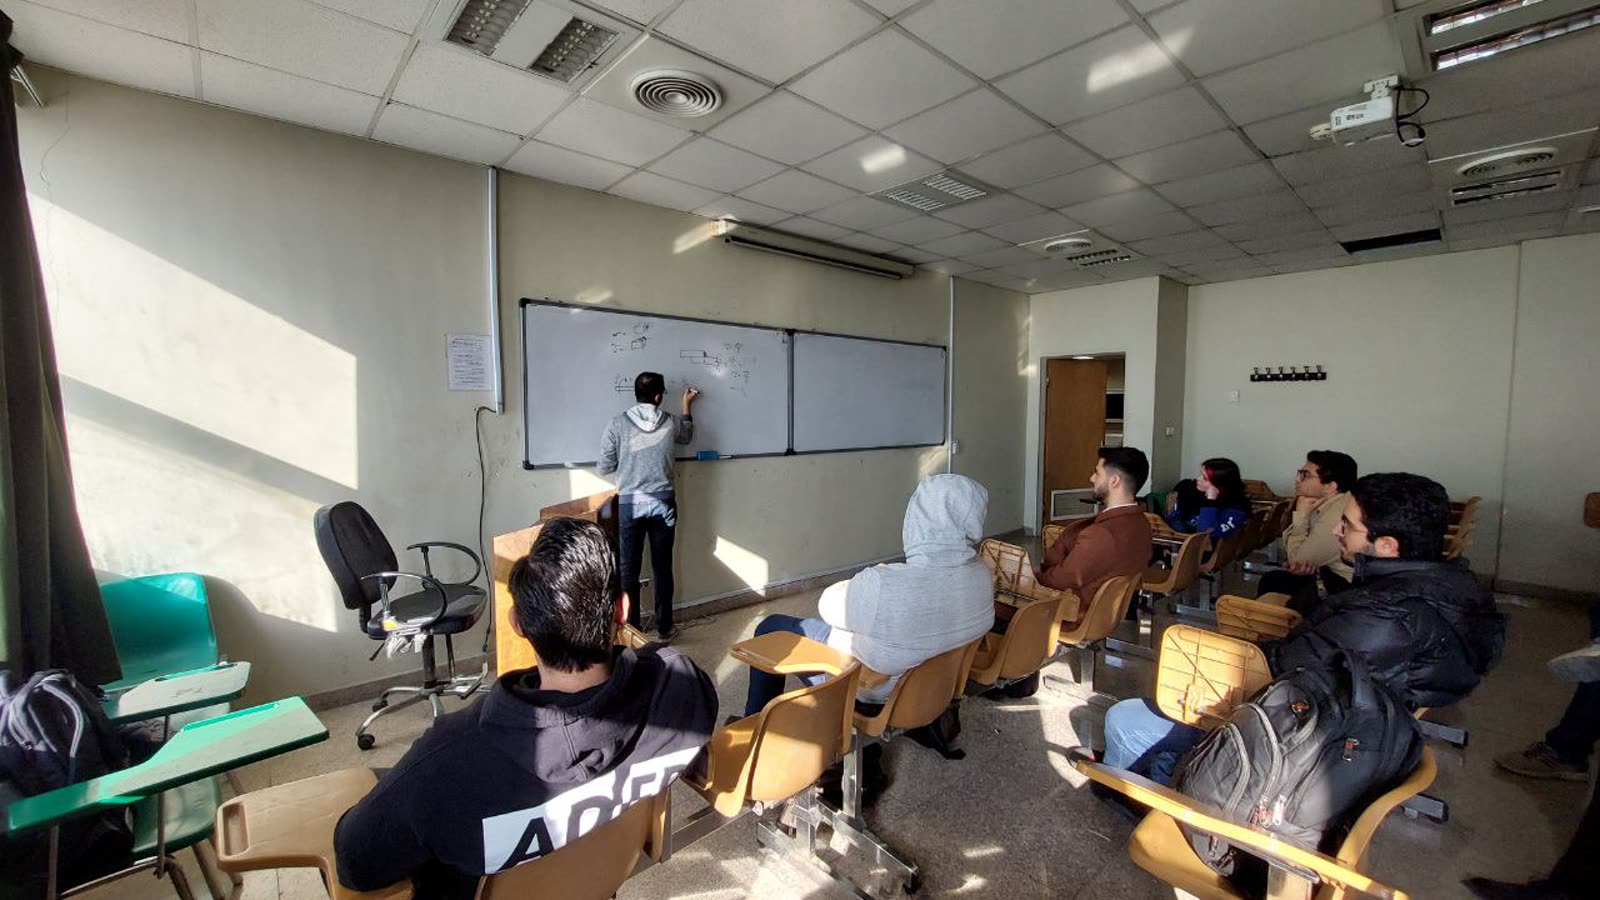
The session after the lecture
I was the teaching assistant for Design of Machine Elements I at Azad University, across the winter and autumn terms of 2024. The lecture gives you the theory. My job was everything that turns theory into something a student can actually use.
That meant standing at the board and working real problems end to end, sitting one to one for the quiet "I am completely stuck on this" moments, and being the person a student could ask the question they were too shy to raise in a full lecture hall.
Teaching, solving, and clearing doubts
A teaching assistant lives in the gap between "I heard the lecture" and "I can solve the problem on my own." Closing that gap is a craft.
In the problem sessions I did not just show the final solution. I showed the false starts, the unit checks, the moment you decide which failure theory applies, so students could see how an engineer actually thinks through a design problem rather than watching a clean answer appear from nowhere.
No two students picture a problem the same way, and seeing an idea shown visually, and explained more than one way, is often what finally makes it click. So I rarely solved a question a single way. I would work it algebraically, then sketch it, then tie it back to a physical demonstration, until it landed. For this course that ran the full range, from setting up simple experiments to grinding through the hardest problems live at the board.
In office hours the work was different. It was diagnostic. A student is rarely stuck on the whole topic; they are stuck on one specific link. Most of clearing a doubt is finding that exact link and removing it, then letting them finish the rest themselves.
- Worked full problem sets on the board, step by step
- Held one-to-one doubt-clearing (رفع اشکال) hours
- Explained stress analysis, failure theories, fatigue, shafts, bolts, and gears
- Reviewed solutions and gave written feedback
- Curated a video for each topic students found hard
- Built small simulations for the concepts that need to move
I hunted the web for the clearest explainer
Some ideas only click when you see them move, and no single lecturer explains everything best. So for each topic students struggled with, I searched the internet, watched a lot of mediocre videos, and handed over only the one that made it obvious.
It was a small thing that saved a lot of frustration. Instead of "go watch some videos", each student got the exact three minutes that would unstick the exact thing they were stuck on.
A good session does not hand over answers. It finds the one thing that was blocking you, and removes it.
Mohr's circle, alive
Transforming a state of stress from one set of axes to another is the idea students fight hardest. On paper it is a wall of trigonometry. As a picture, it is a single circle.
Set the stresses on the element with the sliders. As the element rotates, its state of stress traces a point around the circle, turning twice as fast. The principal stresses are where the circle crosses the axis, and the circle's radius is the maximum shear. Once you see them move together, the formulas stop being scary.
Force flows, and holes make it crowd
Force travels through a part like a fluid through a channel. Put a hole in its path and the flow lines have to bend around it, crowding together at the sides.
Where the lines crowd, the stress spikes. A small numerical solver runs a finite-difference field through each shape, and the colour shows how close every point sits to failure. Switch between a hole, a shoulder fillet, and a notch and the peak lands exactly where it should: the notch root, the fillet corner, the sides of the hole. Then raise the LOAD and watch that one spot reach yield first, long before the rest of the part. That is why parts crack there.
Pull a bar until it breaks
Every number in a materials table comes from one experiment: pull a bar and record the stress against the strain. The shape of that curve tells you almost everything about the metal.
Drag the strain and watch the bar respond. The straight part is elastic, and its slope is Young's modulus. Past the yield point it deforms for good, hardens to a peak, then necks down and fractures. Let go and it replays on its own.
Make the invisible thing move
Whether it was a curve on the board, a video I hunted down, or a simulation I wrote overnight, the goal never changed: take the idea a student could not picture and make it move, so they could finally see it. That is what a good teaching assistant is for.